Hardware
Hardware setuid Sat, 11/21/2015 - 16:18- 2295 views
Adapters and Peripherals
Adapters and Peripherals setuid Sun, 11/22/2015 - 10:55Questions, HOWTOs and documents related to using adapters, cables, peripherals, "dongles" and other external attachments with Zwift.
- 1371 views
ANT/ANT+
ANT/ANT+ setuid Sun, 11/22/2015 - 10:57Zwift and ANT+
 ANT+ is a managed, low-energy network that uses ‘device profiles’ to define how to send data over the network in a reliable and consistent way.
The highest percentage of ANT+ managed network devices are in the sport, wellness, and home health areas.
In a nutshell: ANT+ devices use the ANT+ network key to access the ANT+ network, and they implement at least one of the ANT+ device profiles. At a high level that’s really all there is to it.
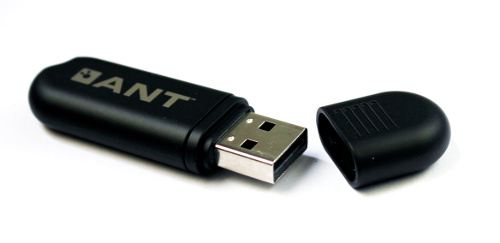
Zwift uses the ANT+ sensors provided by your bike and an ANT+ USB dongle you put into your Zwift PC to communicate between the two systems to create an ad-hoc network that sends and receives data about your bike and performance to the Zwift desktop application.
- 1107 views
My ANT+ signal keeps dropping on Zwift. How do I fix it?
My ANT+ signal keeps dropping on Zwift. How do I fix it? setuid Wed, 11/25/2015 - 23:51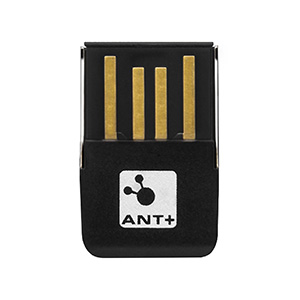
Tired of seeing your bike's sensors drop off of Zwift while you're riding? Is your HRM or trainer dropping out while you're hammering away for a KOM? Don't worry, it's easy to fix!
Zwift "dropping out" is a commonly-reported issue by the userbase. There are a number of reasons that it could be, but the most-common is that your ANT+ adapter is losing signal strength and dropping out momentarily, while it reacquires signal from your PC or Mac.
Remember, the ANT+ adapter in your computer is a radio and like all radios, needs sufficient power to receive the signal from your sensors (bike or smart trainer). More power generally means more range.
ANT+ adapters aren't the same as any other USB device like a thumbdrive or external hard drive. They need solid, consistent power to drive a solid, consistent signal.
If your ANT+ adapter seems to be flaky or dropping out, you have a few options to check, and there are ways to fix this, but first let's clear up some misinformation and misconceptions:
The biggest and most common response we see when this is reported, is to "get a USB extension cable", and in 99.9999% of all cases, that is completely unnecessary. If your problem is "solved" by the installation of a USB extension cable, you have bigger problems elsewhere with your configuration, and you should really fix those first.
- Myth: WiFi interference from wireless routers or other WiFi devices.
- Myth: Mobile signal interference (3G/4G/LTE/BTE)
- Myth: Microwaves, baby monitors, HAM or shortwave radios, CB and other devices that transmit wireless signals can interfere with your signal.
- Myth: Cyclocomputers and bike computers supporting ANT+ or BTLE can interfere with your USB ANT+ adapter.
Fact: ANT+ sits on a very specific frequency band and has Interference Immunity built into the spec. If your wireless router happens to be on the same 2.4Ghz channel that occupies the ANT+ spectrum (Channel 10, 2.457Ghz), you could see some interference if the adapter is cheaply made and doesn't stay in its frequency range, or doesn't adhere to the Interference Immunity spec (cheaply-made ANT+ adapters from China are guilty here), then WiFi is not going to interfere. If you're on 5Ghz WiFi, then this is a non-issue.
Fact: No. ANT+ doesn't even come close to using the same wireless spectrum as 3G/4G/LTE carrier frequencies. These range between 746Mhz and 960Mhz, and are nowhere near the 2.457Ghz frequency that ANT+ uses. Also, see Interference Immunity.
Fact: No, because like mobile phones and most Bluetooth devices, they do not occupy the same frequency range. Bluetooth uses FHSS and hops between 79 different 1 MHz-wide channels in the 83Mhz-wide 2.4Ghz band.
Fact: If your ANT+ adapter is simultaneously paired to your bike computer and to Zwift, you'll have no issues. Likewise, if your ANT+ adapter is paired only to Zwift and not to your bike's computer, you'll have no issues, as the ID is cryptographically unique and your bike computer isn't actively seeking out your ANT+ adapter unless told to do so (in the "Pairing" option of your bike computer). Also, see Interference Immunity.
There are some things that can impair your ANT+ signal and cause instability or signal "dropouts". These include localized RF signals/signal bleed, improperly-powered USB ports, incorrectly configured USB power management or line-of-sight/distance issues. Here's how to fix those:
- First and foremost, make sure your ANT+ sensors have enough battery to send and receive their signals to the ANT+ USB adapter you're using. It's a simple thing and easy to check. If you're not sure, just replace the battery anyway, to eliminate that as a possible factor.
- Make sure your USB port is powered from the PC itself, or if your adapter is plugged into a hub, make sure the hub has power, and isn't just a "port extender". ANT+ is a protocol that requires a reliable, albeit low-energy signal to send and receive its data. If your USB port lacks sufficient power to drive the radio. you'll have dropouts.
- The most-important thing to check, is that you're using a high-quality, branded ANT+ adapter. If you bought your adapter on eBay from a seller in China, chances are it's made with sub-par (rejected) components that aren't tuned correctly, resulting in low-power or signal "bleed" across the range that ANT requires to function properly. Stick with a quality adapter from a reputable brand and you'll have a lot better luck. Garmin, Suunto and Wahoo are brands you can trust.
- If you're not sure if your ports have the correct voltage to drive the ANT+ adapter's radio, you can check your motherboard documentation or check with a free system diagnostic tool such as Speccy on Microsoft Windows or System Report on Mac OS X.
- Another option is to install a free tool from ASUS called "Ai Charger". This tool will overdrive your USB ports to give them more power than the defaults. You do not need to have an ASUS machine or motherboard to install and use this. I've used it successfully on both Dell and Lenvo Thinkpad laptops as well as a home-built PC gaming rig.
- Make sure you have removed any direct line-of-sight obstructions between your PC/laptop and your bike's sensors. If you have a wall, shelf, large floor fan or other obstacles in the way, move them to the side or move the PC closer to the bike's sensors.
- If your USB port (the one the ANT+ dongle is plugged into) is physically close to your HDMI (video) port, make sure the HDMI cable is a shielded HDMI cable, or one that is certified to be HDCP Compliant. This ensures that the cable does not "bleed" RF signals into the same physical space that the ANT+ radio is trying to broadcast through.
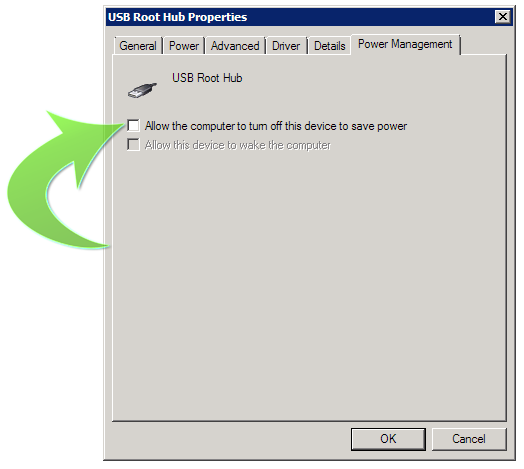
- Make sure your machine is not trying to power down the USB ports to put them into "low-power" mode. This is more common on Windows when running in "Battery Optimized" power profiles, but is also true on Apple MacBook style laptops when the battery dips below 10%.
- To check this, go into Device Manager, and at the bottom will be your USB ports and devices.
- Expand that section and look for "USB Root Hub" or something similar that represents the onboard USB ports of your machine, or the ports of the device you plug your ANT+ adapter into.
- Right-click on the device and choose "Properties"
- Choose the "Power Management" tab on the far right. Inside that tab, will be any power management-related capabilities of that USB device. In my case, my desktop PC's USB ports were set to go into low-power mode, despite my machine being a non-laptop gaming machine and configured with the "High Performance" power management profile.
- Uncheck any options that try to put your USB devices into low-power mode from this dialog.
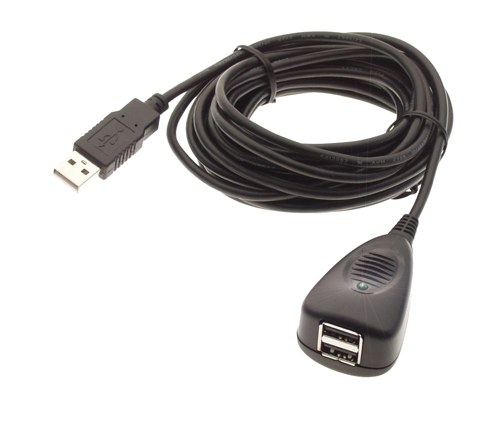 If that doesn't work, you may need to invest in a USB extension cable to bring the ANT+ adapter closer to the bike. While ANT+ as a technology is capable of reaching up to 30 meters from end to end, other factors can shorten this distance.
These cables are very inexpensive and can be found on Amazon or most other online electronic retailers. You're going t plug one end into your PC, and the other end goes as close to, or under the bike's bottom bracket as possible, close to your bike's ANT+ sensors.
Be mindful of those pools of perspiration you're going to deposit down there when you ride!
Plug the ANT+ adapter into the end of the extension cable and you should eliminate the potential of interference or signal dropouts.
It's usually something subtle, but the answer everyone sends is "Get a USB extension cable!" but you may not need one if one of the other solutions above solves the problem for you.
I hope that helps!
- 179365 views
Bluetooth Low Energy (BTLE)
Bluetooth Low Energy (BTLE) setuid Sun, 11/22/2015 - 10:35 Bluetooth Low Energy (LE) (also called Bluetooth Smart) is the power and application-friendly version of Bluetooth that was built for the Internet of Things (IoT).
The power-efficiency of Bluetooth LE makes it perfect for devices that run for long periods on power sources such as coin cell batteries or energy-harvesting devices, such as HRMs, bike sensors, weight scales and other sports and fitness devices.
The smart part is the native support for Bluetooth technology on every major operating system, for easy mobile application development and connectivity for cloud computing and the social economy.
Zwift's support of BTLE is fairly new, but will evolve and mature over time to support the devices that the Zwift community is using with the application.
- 832 views
Bicycle Computers
Bicycle Computers setuid Sun, 11/22/2015 - 10:54- 425 views
Bicycle Trainers
Bicycle Trainers setuid Sun, 11/22/2015 - 11:04- 1447 views
Manual Trainers
Manual Trainers setuid Wed, 11/22/2017 - 11:05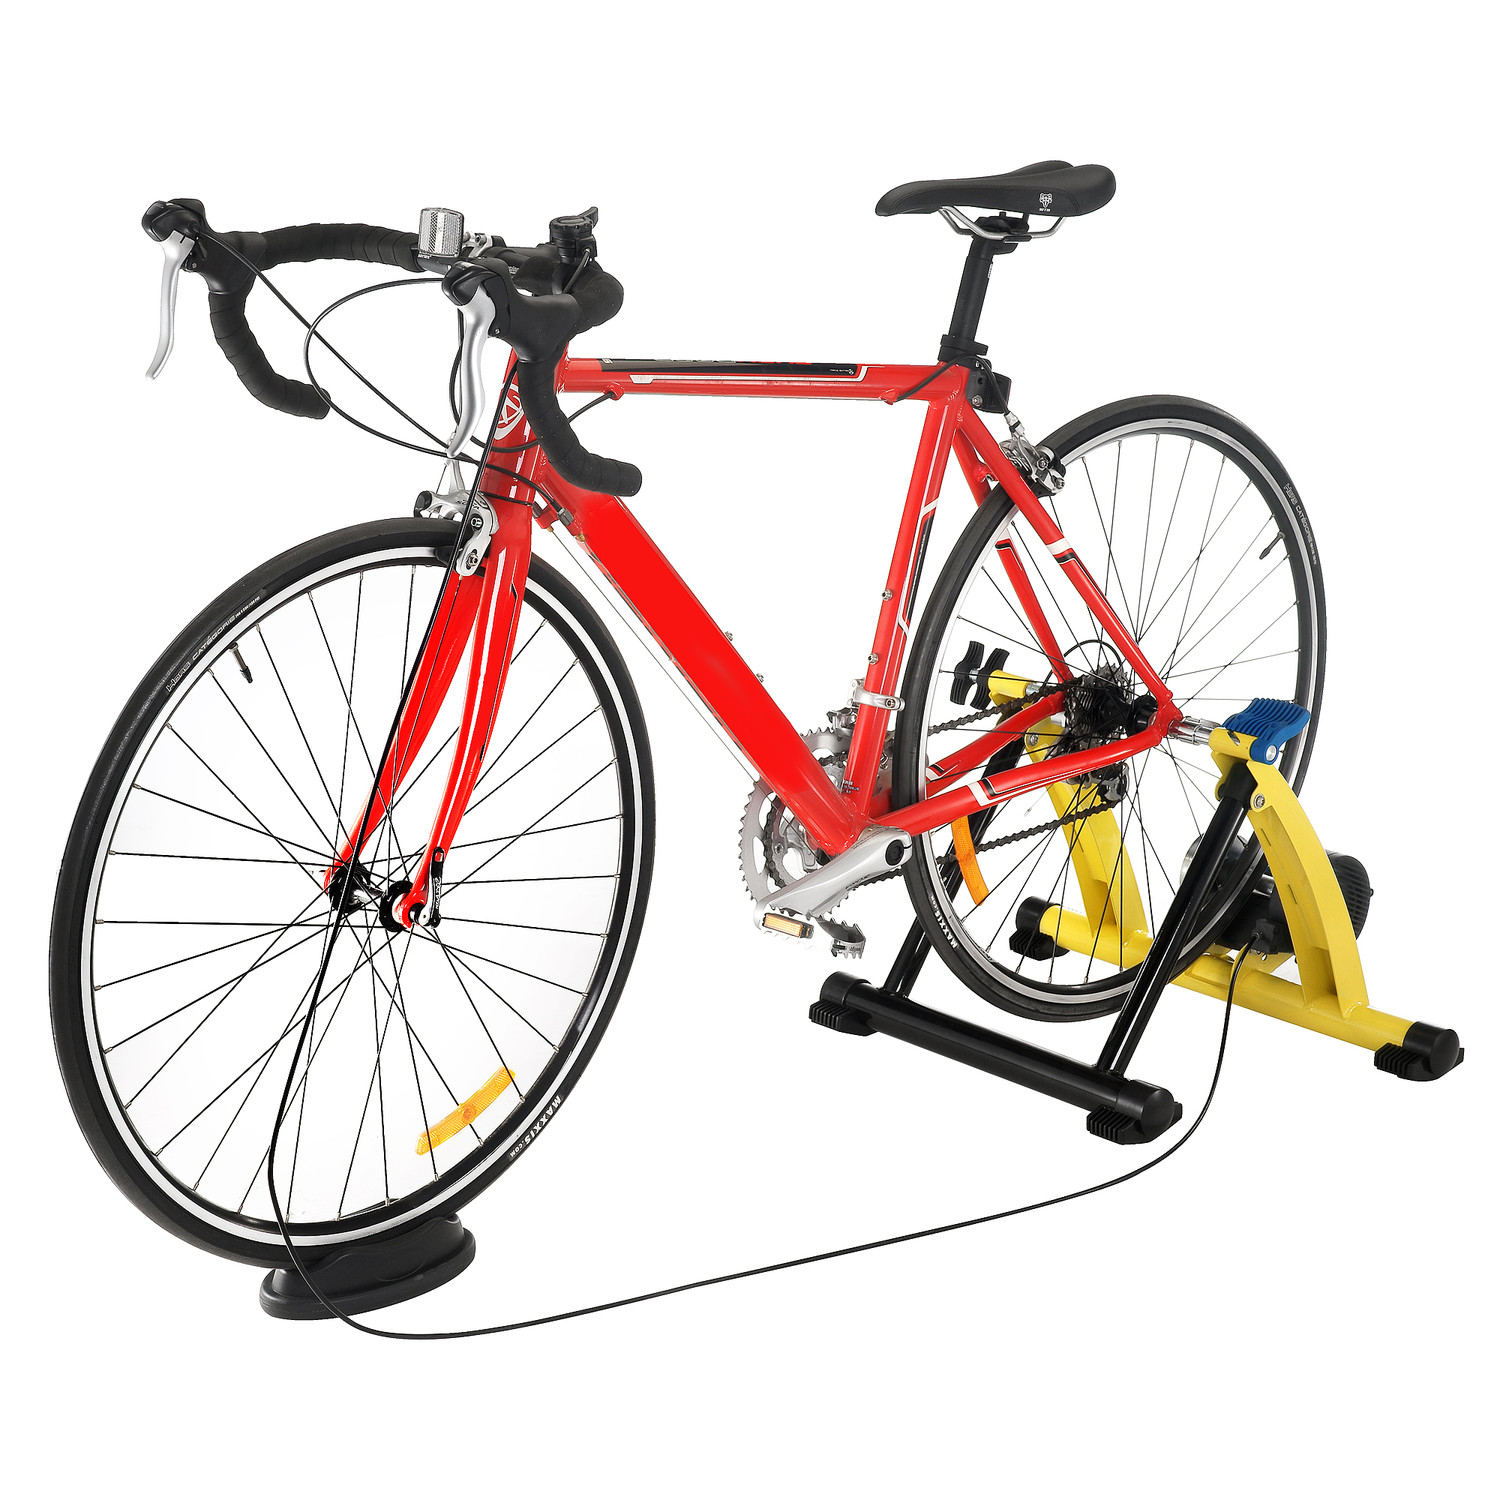 Manual trainers that are not controlled via software from your mobile device or your PC are often called "dumb trainers". They're not specifically dumb, they're just "unsmart", when compared to their smarter cousin the "smart trainers".
Manual trainers are a class of stationary trainers that have a roller or resistance unit, but control their resistance via pressure on the tire which is manually adjusted with a knob or lever mounted on the handlebars of the bike. This also includes stationary bike "rollers", which typically do not have a way to control their resistance from the PC or mobile device. However, nothing beats the experience of riding rollers if you want true outdoor simulation while riding indoors.
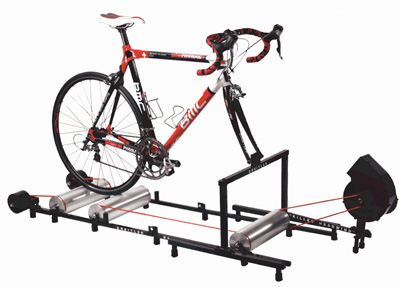 With rollers though, there is a upper to how much power you could put down on the pedals. If you were pushing hard, eventually you would spin out even your largest gear. If you tried to add resistance to a roller unit, you'd end up riding your bike forward off the front of the roller or the back wheel would skid and slip on the roller drums. To address this, some manufacturers have added a front fork mount to hold the bike in place, or a rear dropout support to prevent the bike from shooting off the roller deck.
- 1689 views
How do I correctly set my manual trainer's resistance?
How do I correctly set my manual trainer's resistance? setuid Wed, 11/22/2017 - 11:41Manual or "dumb" trainers typically have a resistance knob or dial on them to set the resistance to a level that is equivalent to reality. The knob applies pressure to the rear tire and simulates the kind of pressure you'd normally see if the tire were on the road surface and your weight was on the bike applying pressure to the frame.
Unfortunately, incorrect pressure can lead to an excessively high amount of watts being output, and your Zwift avatar will end up looking like a 'zPower Flier' on Zwift, and you may get branded as a 'cheat' or get the "Cone of Shame" applied to your profile for a period of time.
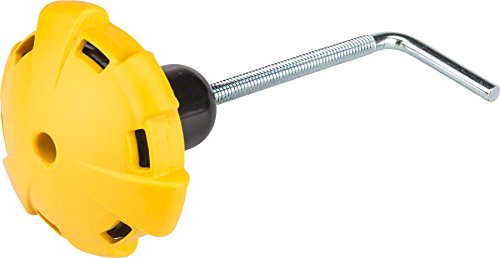 Depending on the trainer you have, you may need to dial up the resistance to match non-trainer load. The CycleOps trainers for example, have a dial that either has a gauge on it, or a "clutch" to indicate when you've applied the correct amount of pressure. Here's a brief video describing how to correctly configure that for your CycleOps trainer:
If you don't have this type of knob, you can buy them aftermarket from Amazon or directly from the CycleOps Store.
Many to most people have their trainer set with "just enough" resistance to avoid tire slip, but it's not nearly enough to bring the resistance up to a realistic level.
 For Smart Trainers, the resistance is typically controlled via the trainer itself, either automatically, or via the computer through the use of an ANT+ FE-C profile from Zwift on the PC side.
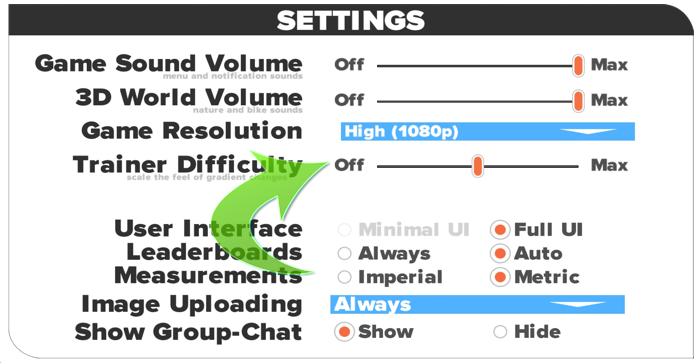
In Zwift, there is a slider that you can use to change your "virtual resistance" from 0% to 100%. You may need to play with the figures a bit to see which one fits your needs and your fitness level. 0% is essentially like riding a flat road, while 100% is like riding the actual course in its entirety.
- 6395 views
Smart Trainers
Smart Trainers setuid Sun, 11/22/2015 - 11:06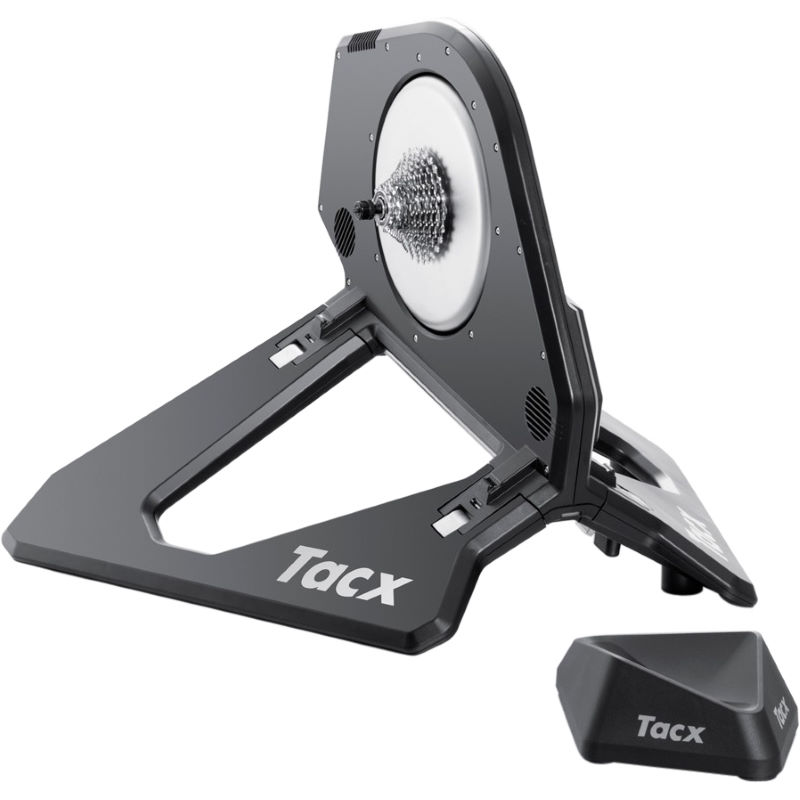 A "smart trainer" allows you to choose exactly what type of training you need. You get to decide which training level you want to combine with what training options and choose which ones work best for you. You can control the amount of resistance and difficulty applied by the trainer through software on your mobile device or on the PC itself. The software controls the trainer, not the other way around.
The smart trainers you find will all differ in resistance unit and build quality; some are more advanced than others, meaning that they differ in the training levels they offer. The software you use with them can be chosen irrespective of the resistance unit. This means that you can train at your preferred training level and as realistic as you want regardless of the training options.
With the help of the software you can organise your training session according to your needs. This way you compile a package that perfectly matches your needs. Instead of using a handlebar computer to communicate with the PC or laptop, you can connect the trainer quickly and easily to the various cycling or desktop apps for tablets or smartphones.
There are many different models and manufacturers of smart trainers on the market, ranging from entry-level to the most-advanced models. Each step up will increase the build quality (and weight!) as well as the options offered.
You can choose from a "resistance" model, in which your rear wheel is connected to a drum that rotates, providing resistance or a "direct drive" trainer where you remove your rear wheel and attach the rear bike dropouts directly to the trainer with an integrated cassette for maximum drive power transfer.
- 2468 views
How do I use my BKool Smart Trainer with Zwift?
How do I use my BKool Smart Trainer with Zwift? setuid Sat, 11/25/2017 - 23:35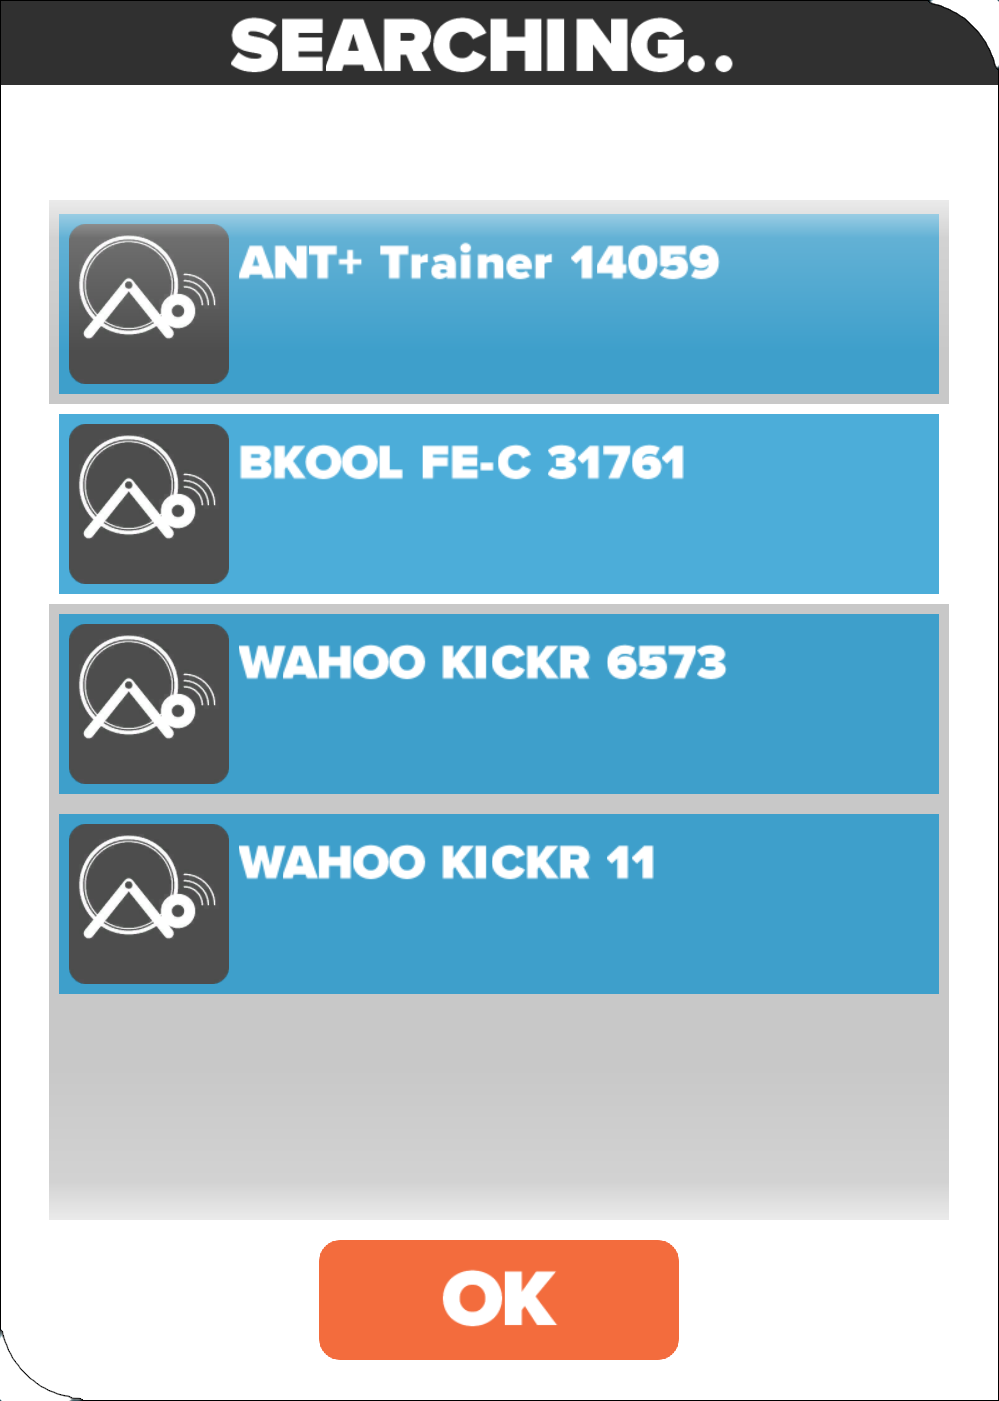 This is one we don't have to write, as Zwift Support have done all the hard work for you! Read the following Support Article on the Zwift Support site for the full details:
If that doesn't solve your issues, reply back here or on the Facebook group and we'll make sure to update this KB or notify Zwift Support to update their article.
- 6849 views
Bicycles (road & MTB, carbon & alloy)
Bicycles (road & MTB, carbon & alloy) setuid Sun, 11/22/2015 - 10:53This section is all about the bikes you use with Zwift. Carbon bikes, alloy bikes, fit, form and size.
There's a lot of variablility in the different models, vendors and component choices to be used with Zwift and your trainer.
Any difficulties you have, questions you might have should be answered here.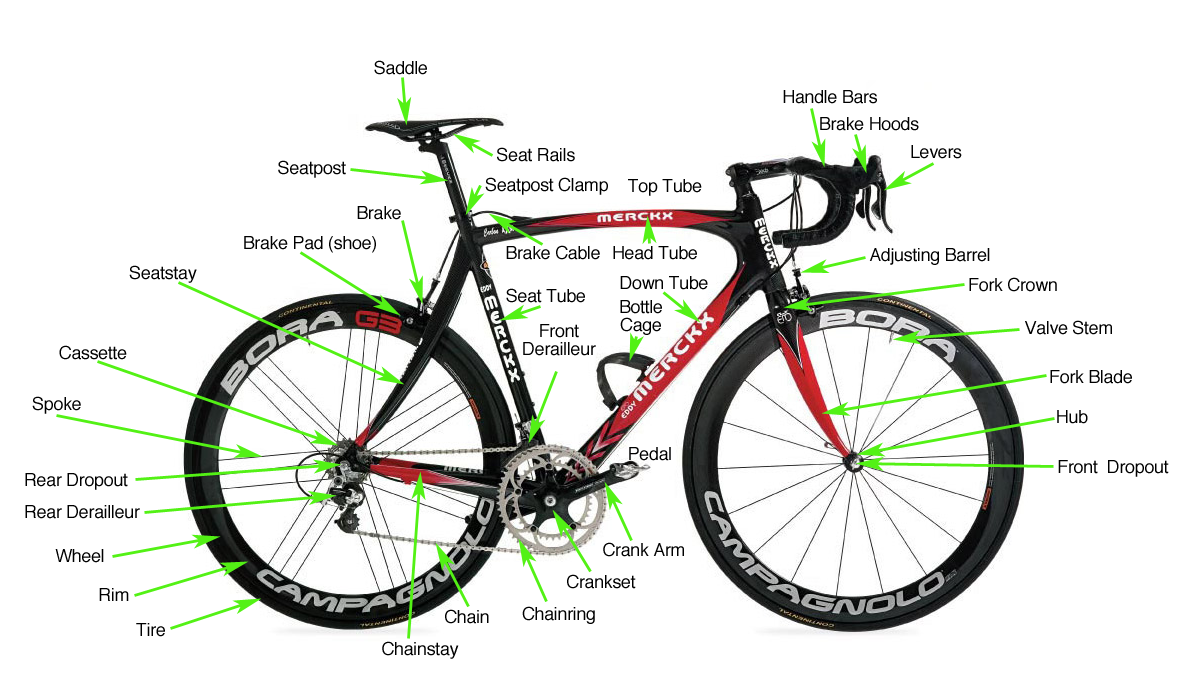
- 6406 views
Mobile Devices
Mobile Devices setuid Sun, 11/22/2015 - 11:03- 1056 views
Power Meters
Power Meters setuid Sun, 11/22/2015 - 10:55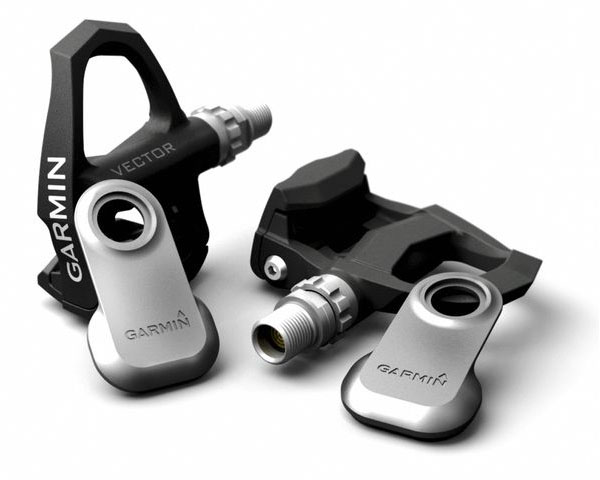 A cycling power meter is a device attached to your bicycle that measures the power output of the rider. Most cycling power meters use strain gauges to measure the torque applied, and when combined with angular velocity, calculate power.
The technology was adapted to cycling in the late 1980s and was tested in professional bicycle racing i.e.: the prototype Power Pacer (Team Strawberry) and by Greg LeMond with the SRM device. This type of power meter has been commercially available since 1989.
Power meters using strain gauges are mounted in the bottom bracket, pedals, rear freehub, or on your crankset. Certain newer devices do not use strain gauges and instead measure power through handlebar-mounted units that utilize the principles of Newton's Third Law by measuring a cyclist's opposing forces (gravity, wind resistance, inertia, rolling resistance) and combining these with velocity to determine the rider's power output.
Training using a power meter is increasingly popular. Power meters generally come with a handlebar mounted computer that displays information about the power output generated by the rider such as instantaneous, max, and average power. Most of these computers also serve as all-around cycling computers and can measure and display heart rate as well as riding speed, distance and time.
Power meters provide an objective measurement of real output that allows  training progress to be tracked very simply - something that is more difficult when using, for example, a heart rate monitor alone. Cyclists will often train at different intensities depending on the adaptations they are seeking. A common practice is to use different intensity zones. When training with power, these zones are usually calculated from the power output corresponding to the so-called lactate threshold or MAP (maximal aerobic power).
Power meters provide instant feedback to the rider about their performance and measure their actual output; heart rate monitors measure the physiological effect of effort and therefore ramp up more slowly. Thus, an athlete performing "interval" training while using a power meter can instantly see that they are producing 300 watts, for example, instead of waiting for their heart rate to climb to a certain point.
In addition, power meters measure the force that moves the bike forward multiplied by the velocity, which is the desired goal. This has two significant advantages over heart rate monitors:
- An athlete's heart rate may remain constant over the training period, yet their power output is declining, which they cannot detect with a heart rate monitor;
- While an athlete who is not rested or not feeling entirely well may train at their normal heart rate, they are unlikely to be producing their normal power—a heart rate monitor will not reveal this, but a power meter will. Further, power meters enable riders to experiment with cadence and evaluate its effect relative to speed and heart rate.
Power meters further encourage cyclists to contemplate all aspects of the sport in terms of power because power output is an essential, quantitative link between physiological fitness and speed achievable under certain conditions. A cyclist's VO2 max (a proxy for fitness) can be closely related to power output using principles of biochemistry, while power output can serve as a parameter to power-speed models founded in Newton's laws of motion, thus accurately estimating speed.
The joint application of power meters and power models has led to increasingly more scientific analyses of riding environments and physical properties of the cyclist, in particular aerodynamic drag.
- 1230 views