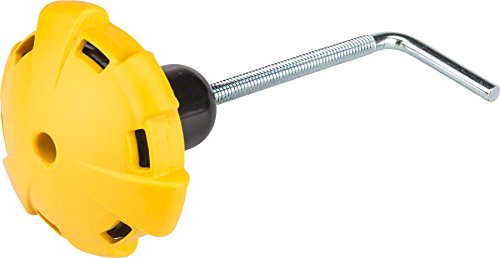
Manual or "dumb" trainers typically have a resistance knob or dial on them to set the resistance to a level that is equivalent to reality. The knob applies pressure to the rear tire and simulates the kind of pressure you'd normally see if the tire were on the road surface and your weight was on the bike applying pressure to the frame.
Unfortunately, incorrect pressure can lead to an excessively high amount of watts being output, and your Zwift avatar will end up looking like a 'zPower Flier' on Zwift, and you may get branded as a 'cheat' or get the "Cone of Shame" applied to your profile for a period of time.
 Depending on the trainer you have, you may need to dial up the resistance to match non-trainer load. The CycleOps trainers for example, have a dial that either has a gauge on it, or a "clutch" to indicate when you've applied the correct amount of pressure. Here's a brief video describing how to correctly configure that for your CycleOps trainer:
If you don't have this type of knob, you can buy them aftermarket from Amazon or directly from the CycleOps Store.
Many to most people have their trainer set with "just enough" resistance to avoid tire slip, but it's not nearly enough to bring the resistance up to a realistic level.
 For Smart Trainers, the resistance is typically controlled via the trainer itself, either automatically, or via the computer through the use of an ANT+ FE-C profile from Zwift on the PC side.
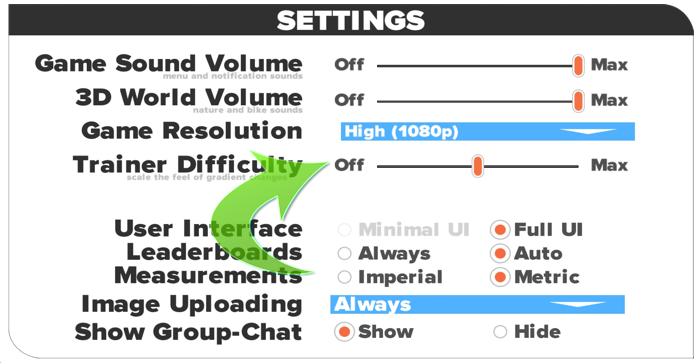
In Zwift, there is a slider that you can use to change your "virtual resistance" from 0% to 100%. You may need to play with the figures a bit to see which one fits your needs and your fitness level. 0% is essentially like riding a flat road, while 100% is like riding the actual course in its entirety.
- Printer-friendly version
- Log in to post comments
- 6395 views